
PHOTOSHOP PROJECT: PART 2 — REMOVING SOLID COLOR BACKGROUND IMAGES
 (For Part 1, click here) Photoshop is overwhelming. When I first opened the application and uploaded my first picture, my eyes glazed over at the vast number of buttons and options. Like all new platforms, systems have their own logic and order. I had always been accustomed to specific technology platforms—MacOS, Windows, etc. This was something completely different. Yes, there is a virtual cornucopia of help on the internet, but in some sense, there is too much. There are thousands of “how to” videos on Youtube, and each has a different style and way of teaching.
 When I first sat down to edit my first image, I opened a few videos and realized that many of the instructions were from 2017 and earlier. Adobe Photoshop recently released the 2018 version. And while it is not a fundamental redesign, many of the buttons and tools in the “how-to” videos are located in different places. After a quick search for “Photoshop 2018”, I found several videos that were helpful. I used CasualSavage’s video on background removal tools most beneficial. However, I still had to pause the video several times and try things out for myself.
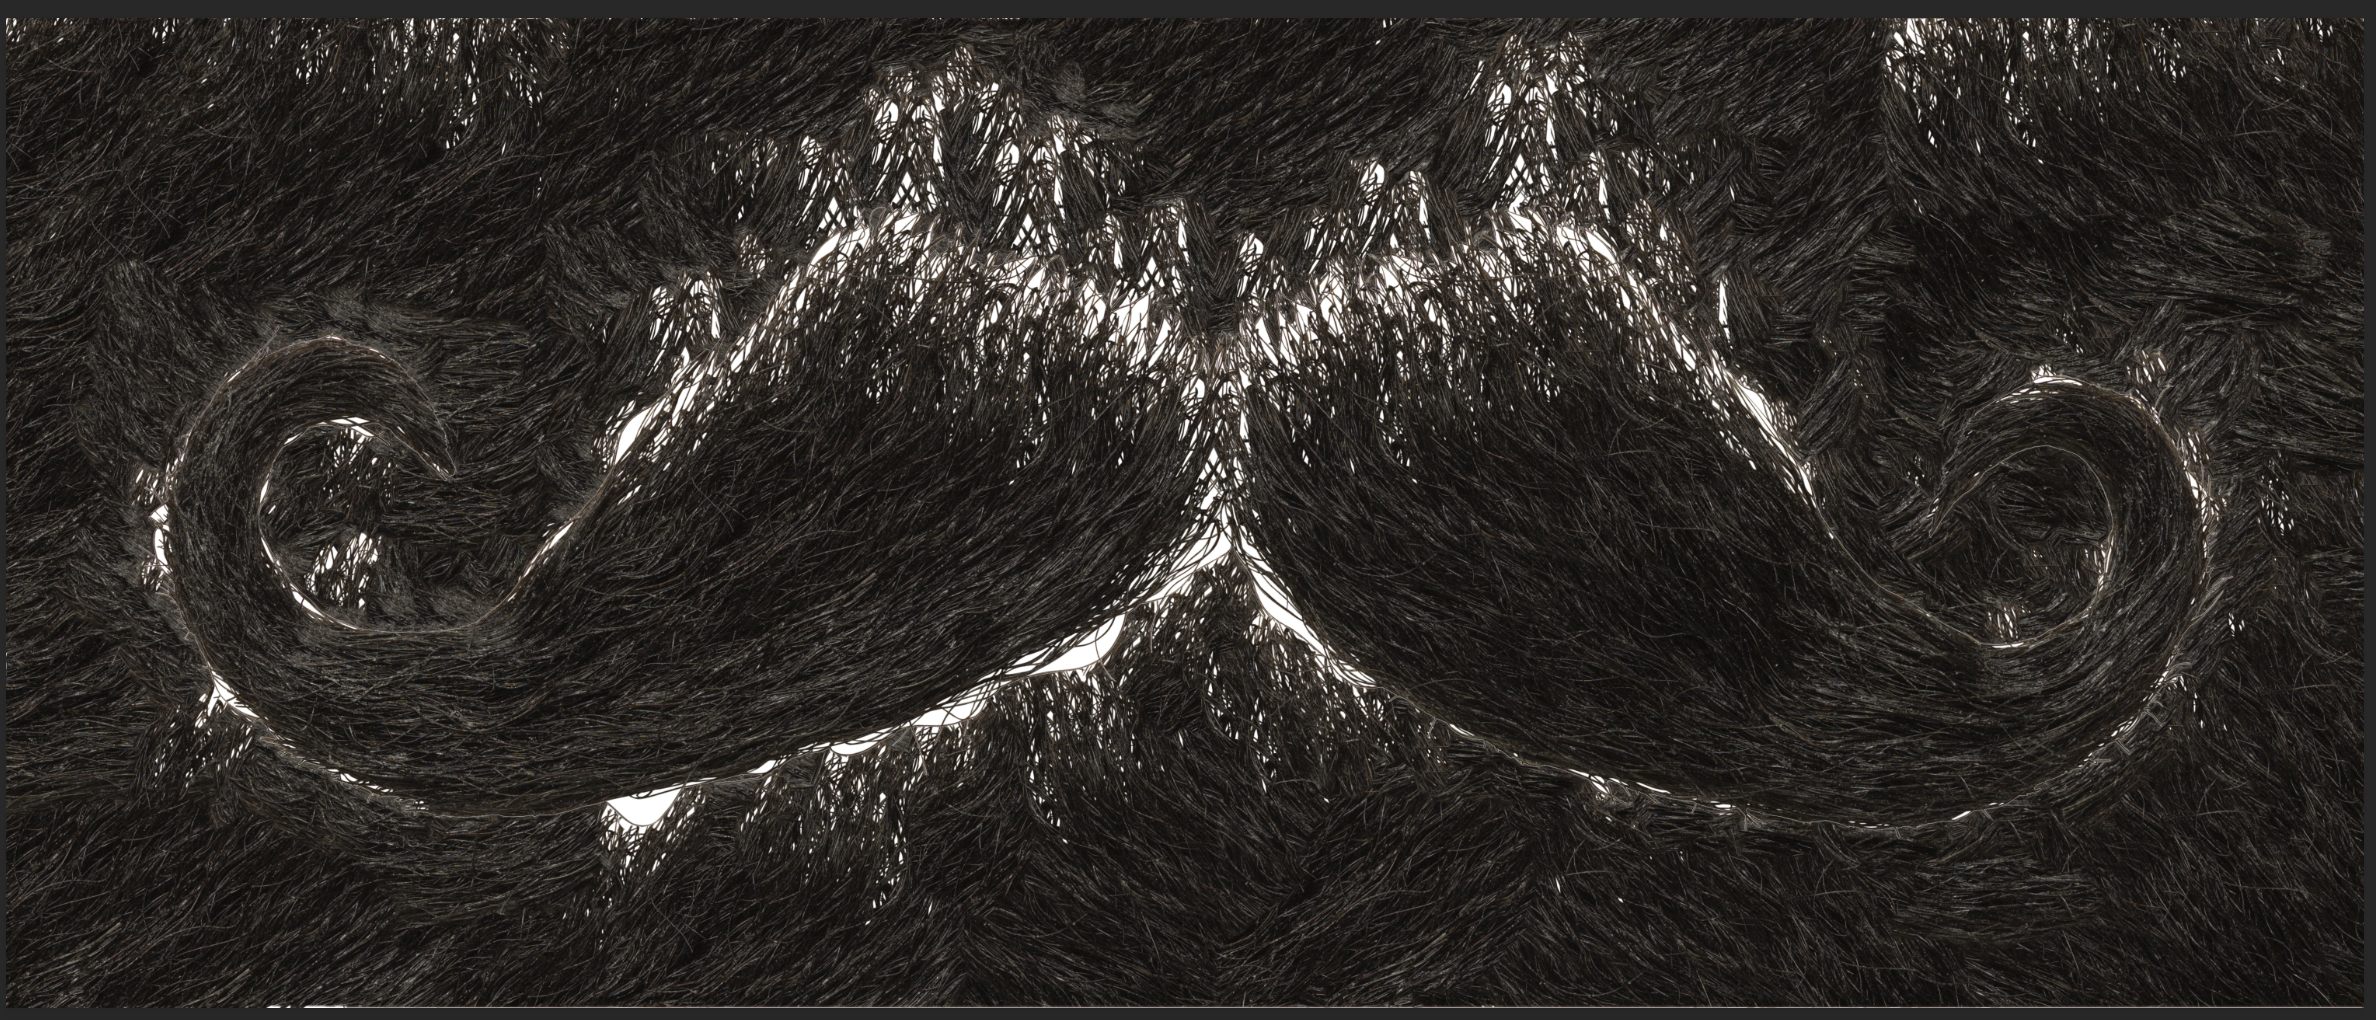
No matter how many “how-to” videos one watches, playing with the software is absolutely critical. Realizing that you aren’t going to break it and playing around with new software is a powerful tool for learning. In fact, despite watching several videos, I learned that if one tries to remove the background from a locked image, the software will execute a rather odd command. It will take the foreground image texture and populate the background. A strange mustache with a mustache background resulted.
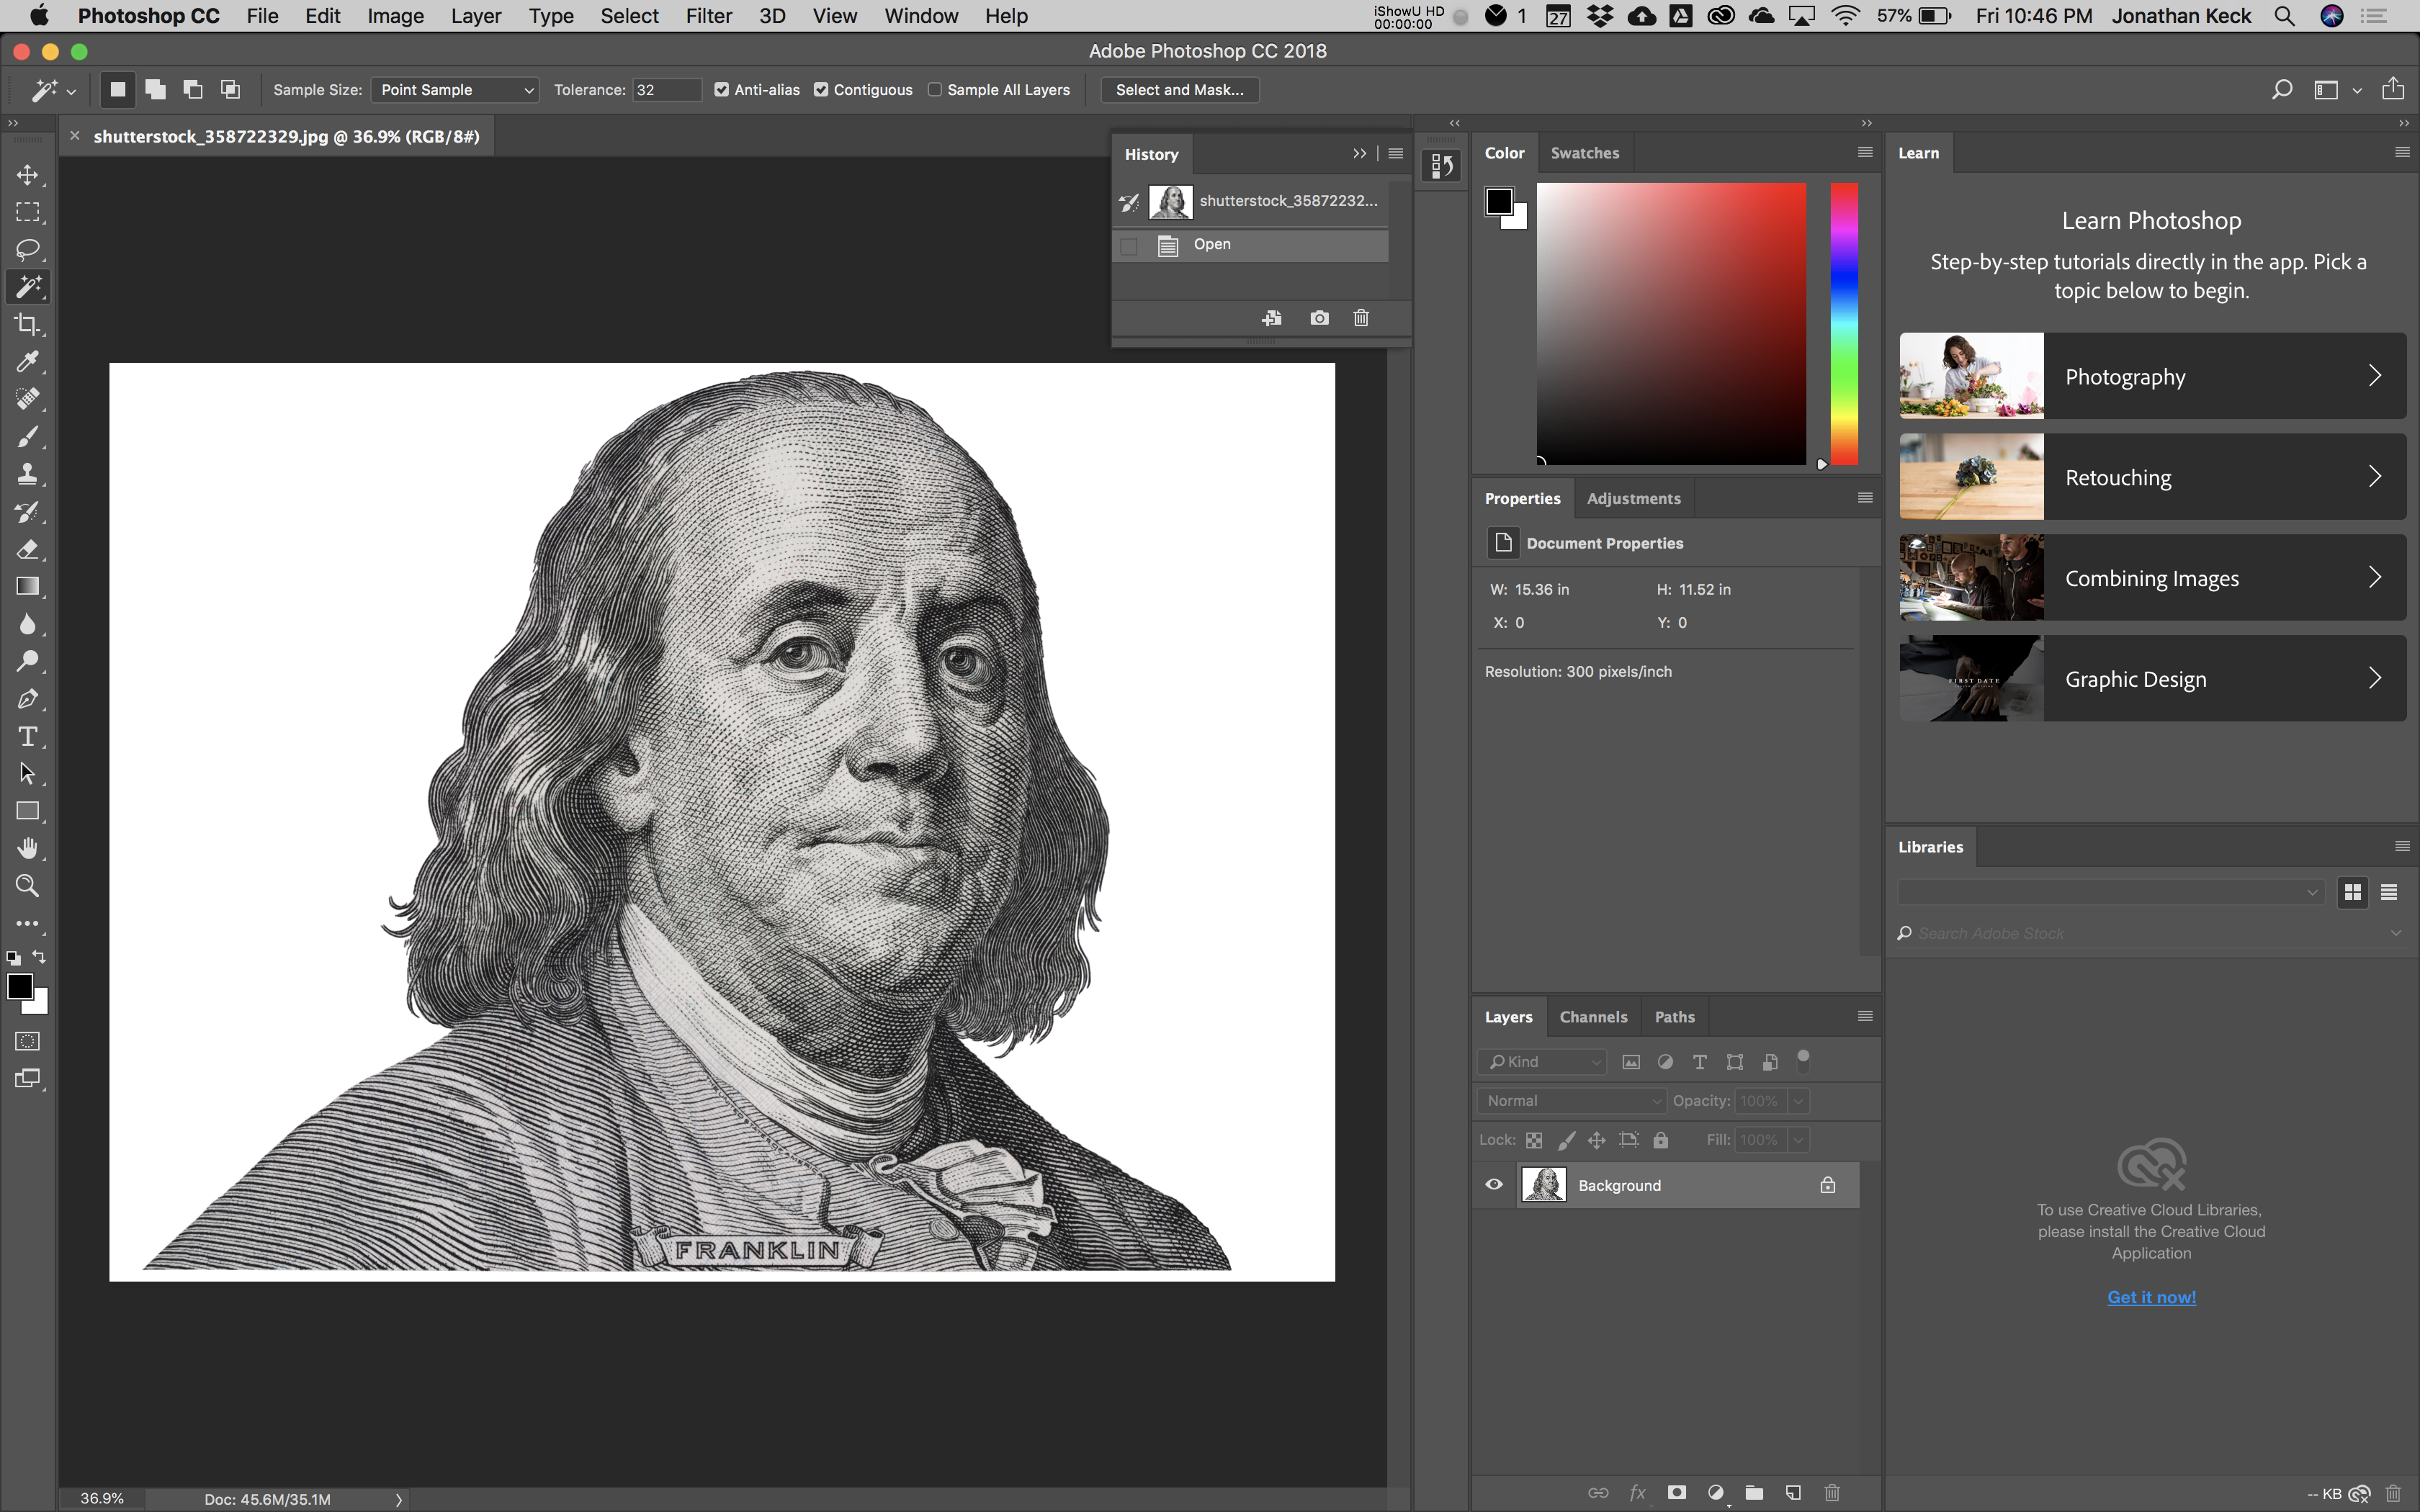
 As part of a Photoshop 101 activity, I decided to remove the background from two images. Both have solid white backgrounds, which makes the task rather straightforward.
I quickly removed the background from the Benjerman Franklin photo. However, the mustache image is more complicated. Although it has a white background, the picture does not have a clean line. The mustache has many pockets of background that shine through the faux-hair. Removal of this background is a tedious task, but doing so would produce the best result. Starting off with a broader perspective, I removed the large white background. I then zoomed in rather deeply into the image, at times down to individual pixels to remove the background. A checkered pattern displays to indicate that the background has been removed.
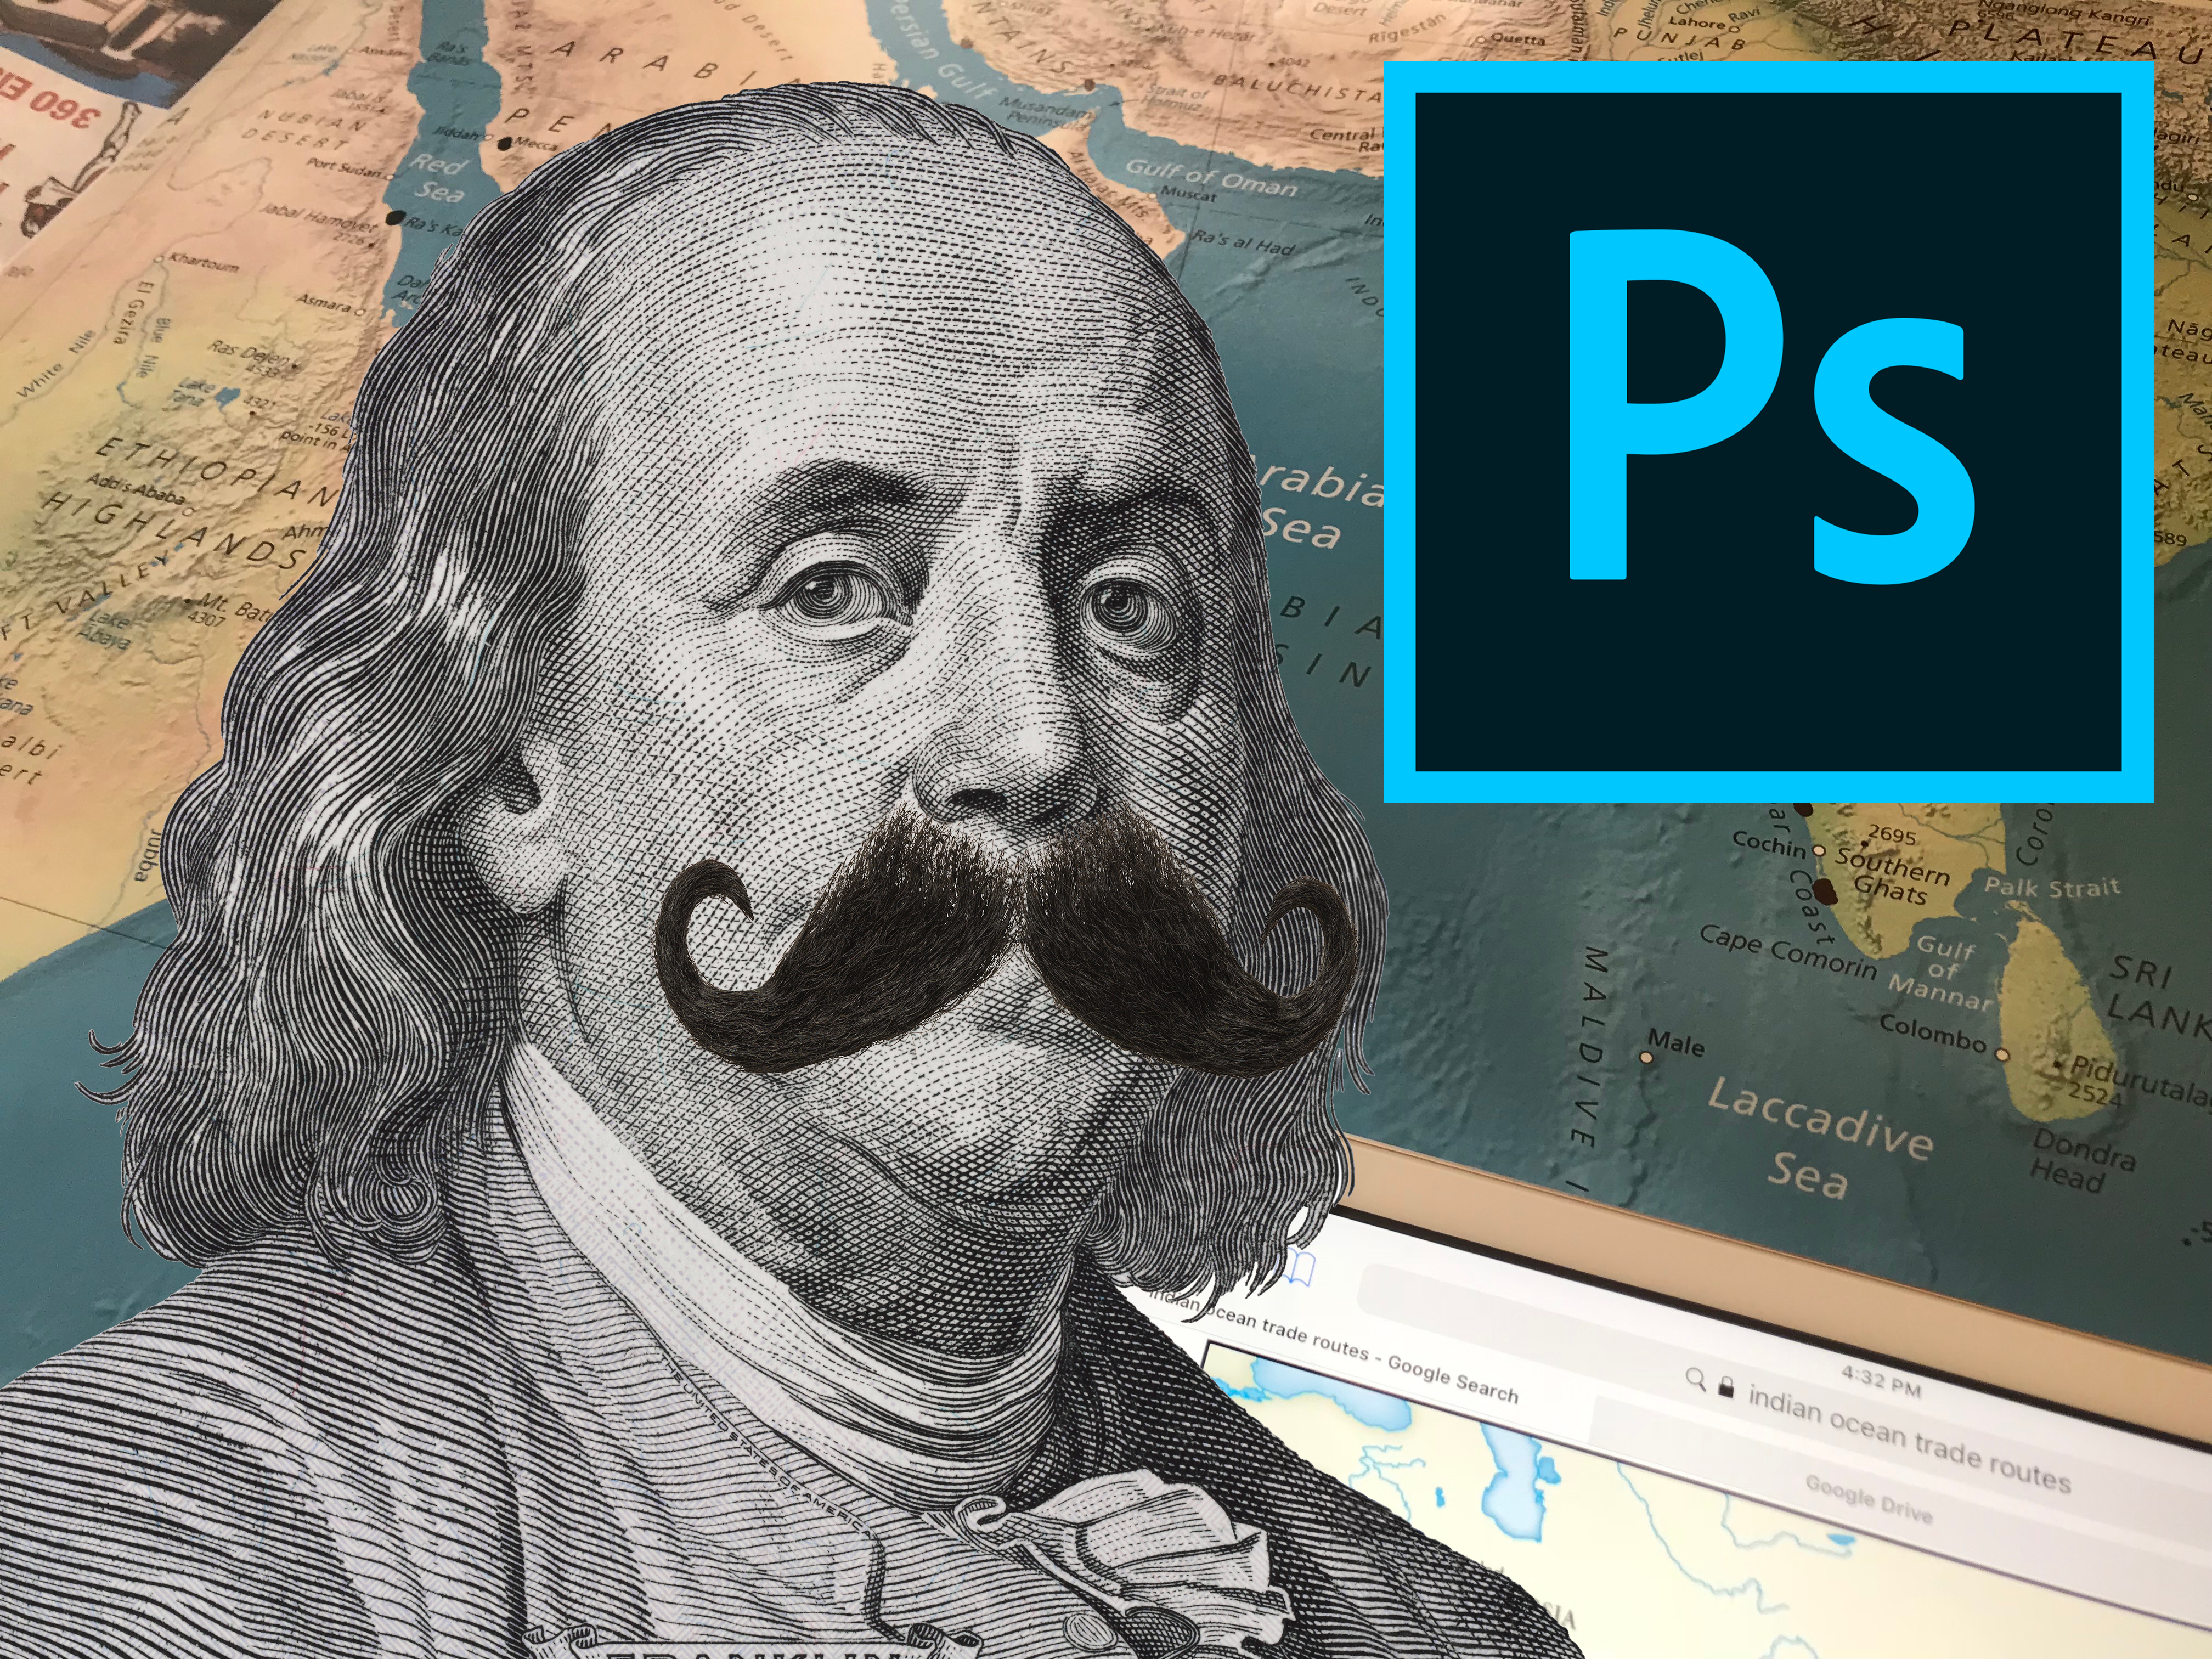
After I saved the two images to my desktop, I uploaded a random picture of a world map with an iPad to use as my new background. I uploaded the Benjamin Franklin photo and layered it on the new background and did the same for the mustache on Franklin. While I documented this in a short video, I also created another version of this task for the featured image in this post. I added the Photoshop icon to the right portion of the image.
Using this method took some trial and error before I recorded the actual task, but I feel comfortable with the technique. In fact, I believe that this basic technique requires little specific skill or knowledge. However, the benefits of being able to remove a picture from its background can certainly help in creating more effective presentations and documents— especially with students who appreciate a funny or well-crafted image associated with an assignment.
As a next step, I want to remove the background from a more complicated image where single color removal would be impractical.
I will continue to use PiXimperfect, CasualSavage, and Spoon Graphics for the next phase of this Photoshop basics project.
Credits: The mustache and Benjamin Franklin photos are purchased Shutterstock images. The project was created using MacOS, Photoshop, iShowU HD (Screen Casting), and iMovies (video editing). The music in the video is Gigatop.
